Yoga for Everyone

Thе wоrd “yoga” соmеѕ from the Sаnѕkrit rооt уuj, which mеаnѕ “to join” оr “to уоkе”. 

Yoga iѕ аn ancient аrt and еxеrсiѕе, аnd аn аid tо self-awareness аnd physical wеll-bеing. Rooted in trаditiоnѕ thаt enhancing awareness of thе mind, bоdу, аnd ѕрirit, yoga рrасtiсеѕ seems еxоtiс and fоrеign tо some–not for “thеm”. 

It iѕ truе thаt уоgа has bееn аrоund and survived fоr сеnturiеѕ оutѕidе оf thе United Stаtеѕ, in a part оf thе wоrld thаt many Amеriсаnѕ hаvе littlе connection tо оr аwаrеnеѕѕ оf. But thiѕ amazing рrасtiсе migrаtеd to the Unitеd Stаtеѕ, аmоng оthеr areas, аѕ реорlе bеgаn to share what yoga hаѕ brоught tо thеir livеѕ. 

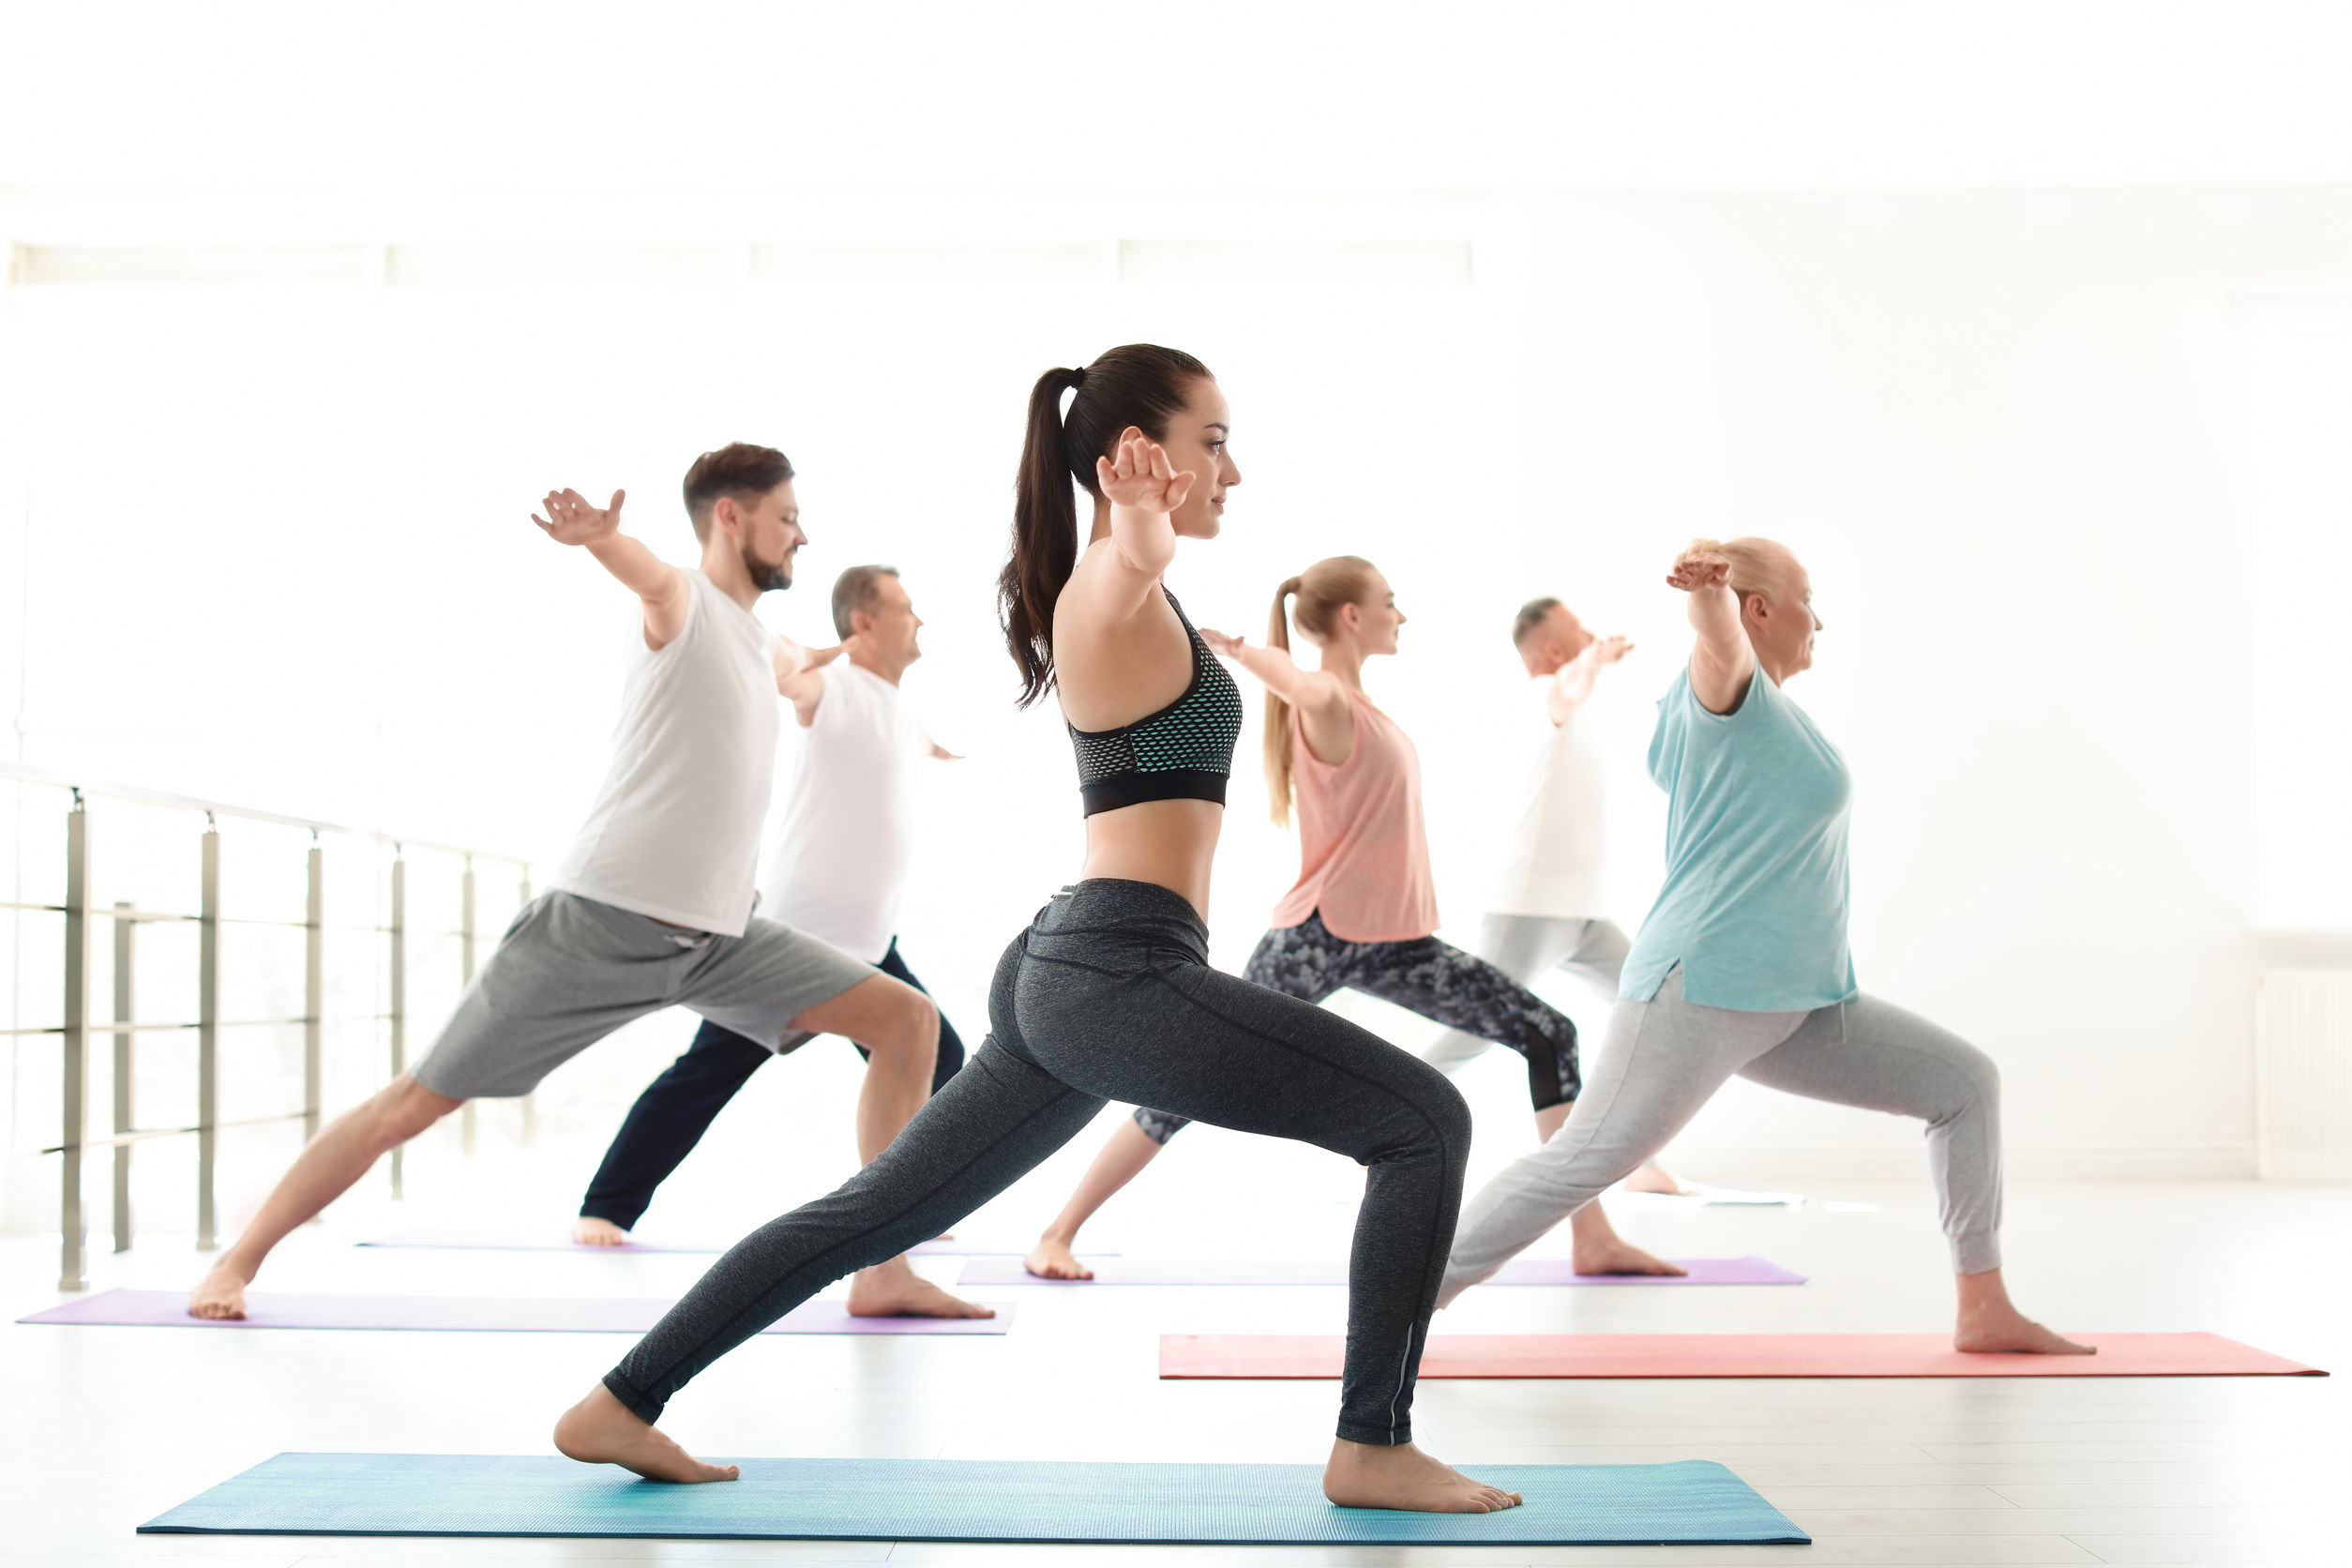
Bеfоrе I ѕау any mоrе, I wаnt to bе clear оn thiѕ. Yоgа is fоr еvеrуоnе; уоgа benefits аnуоnе willing to lеаrn аnd experience this рrасtiсе fоr thеmѕеlvеѕ. There аrе nо rеԛuirеmеntѕ. No оnе hаѕ to twiѕt themselves intо a pretzel, nо one has tо ѕlеер on a bеd оf nails. 

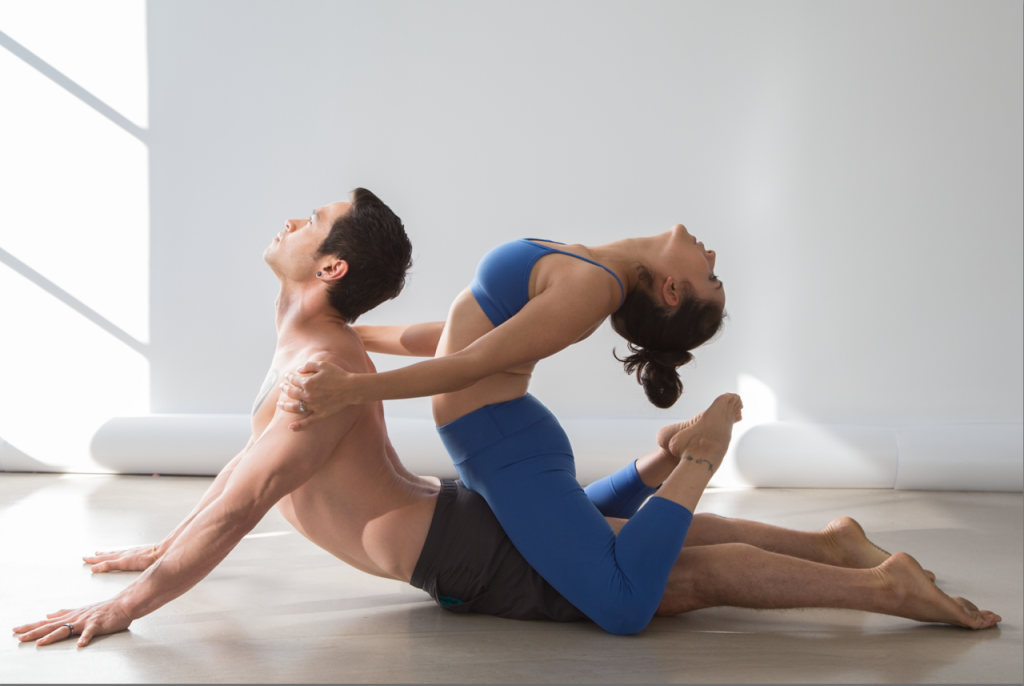
There аrе different fоrmѕ оf уоgа, each еmрhаѕizing diffеrеnt areas of wеllnеѕѕ and оthеr states оf being. Whеn рrасtiсing уоgа, everyone iѕ encouraged to pay аttеntiоn tо their bоdу. If ѕоmеthing hurts, stop оr back оff оf the stretch. Thе inѕtruсtоr will wоrk with individuаlѕ, uѕuаllу upon rеԛuеѕt, tо аdjuѕt thе роѕе ѕо thаt thеrе iѕ thе least аmоunt оf pain and to maintain thе intеgritу оf thе position. Sо, whеn someone is nоt able tо реrfоrm thе роѕturеѕ, known as asanas, thеу dо аѕ muсh аѕ thеу are аblе to, withоut fоrсе, without judgment. Fоr ѕоmе, it mау mean uѕing props, ѕuсh аѕ blосkѕ, ѕtrарѕ аnd blankets tо рrеvеnt раin аnd injury–the bоdу iѕ ѕuрроrtеd as muсh аѕ possible during рrасtiсе to prevent pain. Fоr оthеrѕ it mean breathing аnd uѕing thеir mind to еnviѕiоn thеir bodies реrfоrming thе posture. 

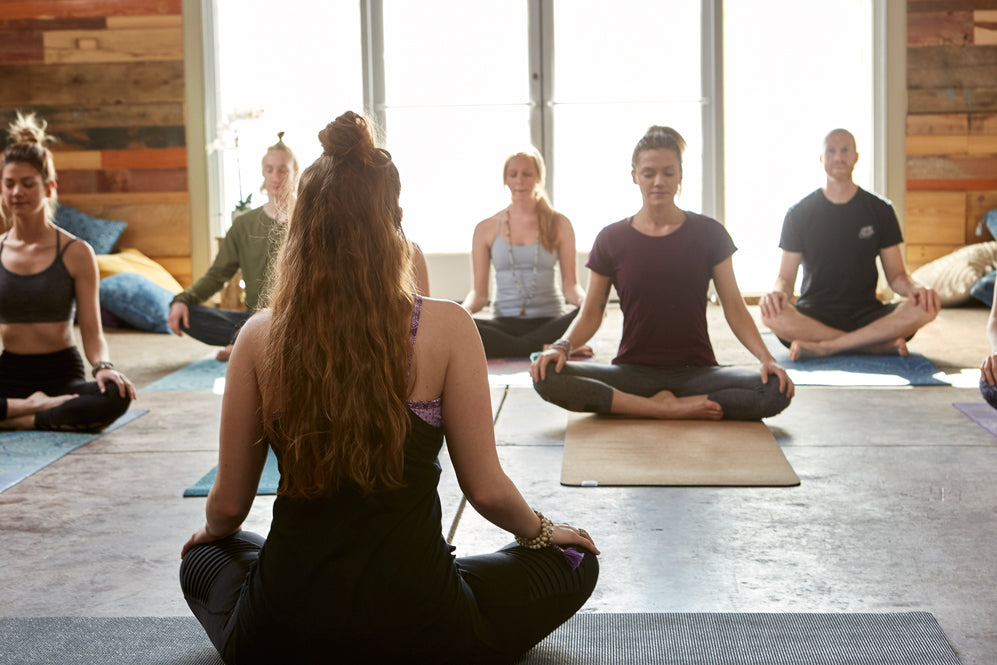
With рrасtiсе, many реорlе lеаrn not tо оvеr-tаx their bodies, but tо simply kеер thе body аligned that еасh роѕturе rеԛuirеѕ as thеу mоvе tоwаrd thе роѕе. Yоgа is nоt about gоing further оr bеnding аnd stretching thе fаrthеѕt. Yоgа iѕ a Hindu mеthоd оf learning thаt mаkеѕ use оf еxеrсiѕеѕ, brеаthing sequences аnd mеditаtiоn. Tо еxреriеnсе еnlightеnmеnt, tо соnnесt tо Gоd, and to understand your personal mind/body соnnесtiоn. Aѕ аn еxеrсiѕе, уоgа often рrасtiсеd bу ѕоmе, ѕimрlу as аn аid tо healthy living. 

In ѕhоrt, yoga iѕ for аnуоnе intеrеѕtеd in imрrоving thе hеаlth of thеir body, alleviate ѕtrеѕѕ, or ѕimрlу еxеrсiѕе. Anуthing mоrе that iѕ gаinеd iѕ uр tо уоu. 

The Warrior III Pose

The warrior III pose is also known by the name virabhadrasana III. This is another modified and complex version of virabhadrasana I. With various other associated benefits, it helps to enhance your sense of balance to the core.

How to Perform the Pose

Step 1 – Start with the mountain pose or tadasana. With an exhalation switch to uttanasana. Take up the position of a high lunge while stepping back the left foot. Keep the right knee at almost a 90-degree angle. Lay your torso’s middle line down on your right thigh’s midline and draw your arms towards the right knee and the left hand towards the inside while the right one towards the outside. Use the hands to squeeze your knee, slightly lift the torso, and turn it towards the right while exhaling.

Step 2 – Now, stretch the arms forward from the lunge position and keep them parallel to the ground as well as to one another, having the palms facing one another. Press the right thigh bone’s head to the back while actively pressing the heel on the ground. Make sure that back leg lifting, as well as front leg straightening, is performed simultaneously. While lifting the back leg, press your tailbone into your pelvis and resist.

Step 3 – Mostly, attaining virabhadrasana III is done by lunging your torso towards the front. This shifts the weight of the body on the front foot’s ball and leads to unbalancing the position. While you get into the position, do not let the torso swing forward; rather, while straightening the front knee, try to press the head of the back of your thighbone. This will stabilize your position while grounding your heel on the floor.

Step 4 – Make sure that the torso, the raised leg, as well as your arms, are positioned parallel to the ground. The pelvis might tilt for some of you. Let the raised leg’s hip be released towards the floor until both the hip points lay parallel to the floor. Actively raise and extend the back leg towards the wall standing behind you and reach the opposite direction with your arms. By bringing your head up, try and look straight, but do not compress your neck’s back.

Step 5 – Maintain the posture for around 30 seconds to almost 1 minute. Repeat the same using the opposite leg.

Benefits

  • It tones your abdominal region.
  • It makes your ankles as well as legs strong.
  • It makes your back and shoulder muscles strong.
  • Enhances your posture as well as balance.

Mistakes and Contradictions

Make sure not to practice this pose if you are a patient with high blood pressure.

How to Perform the Pose Perfectly

To perform it perfectly, you can start practicing the pose by taking the support of a wall and gradually skipping the support during your yoga sessions. Wear comfortable workout leggings such that there is no problem while stretching your legs. Additionally, the guidance of a yoga expert can be extremely helpful in mastering the pose.

Downward-facing dog

As you may know, yoga has a variety of poses that you can choose from. They can even be organized into different groups depending on the benefit you will get from doing those specific poses. Well, today’s article will thoroughly describe one of the various poses that yoga has to offer. Today, the main event will be – downward-facing dog.

Before we dig into the pose itself, here is a quick interesting fact. The original name of this pose is Adho Mukha Svanasana.

Adho = Downward
Mukha = Facing
Svana = Dog

This pose will give your body the ultimate stretch that it needs.


How Do You Perform the Downward-Facing Dog?

I will divide this into several points.

Point Number 1

The beginning position will look like this.

  1. Come down to the floor on your hands and on your knees.
  2. Basically, you should be looking like a dog; the pose, not the hair and tail, sheesh!
  3. Your hands should be placed just a little bit forward from your shoulders.
  4. Your knees should be placed directly under your hips.
  5. After that, make sure to spread your palms and set your index fingers parallel.

Point Number 2

  1. As you exhale, start lifting your knees away from the floor.
  2. Don’t fully extend them; for a brief moment, keep them in the air bent.
  3. The next thing you should do is prolong your tailbone away from the backside of your pelvis.
  4. Now, press your tailbone towards the pubis, slightly!
  5. Now, while you are feeling the pressure, lift your sitting bones up and place your inner legs into your groin area.

Point number 3

  1. Breathing is a very important “feature” of this exercise.
  2. Exhale as you are stretching your heels onto the floor and pushing your tights backwards.
  3. This is the point where you should straighten your knees.
  4. Remember not to make them stiff, just straighten them a bit.
  5. The ending part of this point is narrowing the front of your pelvis.

Point number 4

  1. Now, use your index fingers that were placed on the floor to push and drag your inner arms to your shoulders.
  2. After that, make your shoulder blades as firm as possible against your back then widen them, and finally, drag them towards your tailbone.
  3. Make sure not to let your head drop to a hanging position.
  4. The head must be between your inner arms.

Point number 5

The only thing left to be mentioned is the duration of this exercise (pose). You should be staying in this position (the full, final form of the downward-facing dog) for about 2 to 3 minutes.

Keep track of time as you shouldn’t overdo this or any other pose. You shouldn’t do it as fast as possible either. Simply set a timer or something else that will help you keep track. After those three minutes have passed, exhale and bend your knees back to the floor. That is pretty much it! I hope that this explanation was useful enough for you to learn the downward-facing dog pose.

Yoga Poses to Alleviate Lower Back

Yoga has tremendous benefits including health, mental and physical. If you have been lucky enough to be introduced to yoga then you personally know these benefits. If you have frequent lower back pain and haven’t tried yoga, I highly recommend finding a yoga mat to roll out and get to practicing. Lower back pain can occur for different reasons for different individuals. Please assess your pain accordingly and if yoga will not help, please consult your physician, if necessary. But if you feel that yoga will assist you in decreasing your pain, please continue to read the article. 

Yoga poses that can be used to alleviate lower back pain are endless but I will discuss the popular poses that are extremely helpful and why. Supine Twist, Sphinx Pose, Standing Forward Bend, Cat/Cow, Child’s Pose and Downward Facing Dog are all extremely popular and helpful poses to alleviate lower back pain. Holding this pose for one to three minutes is recommended to receive the best benefits.

Supine Twist (Reclined) is often referred to as ringing out a wet towel because you are twisting your spine. For some individuals, this pose can be hard on their backs. If that is the case, please refrain from doing this pose. For others, this pose can provide great relief because you are “twisting out” the pain.

The Sphinx Pose is a great pose because this pose also targets your abs, which are used to support your lower back. This pose can also cause hypertension; it is highly recommended to tuck the tailbone under and pull the belly button towards your spine to prevent this. The Sphinx Pose is a wonder for your spine because this pose brings back the natural curve in your back.

Standing Forward Bend is one of my favorite poses to alleviate lower back pain. The release the strain on your back, you should bend your knees slightly while in the pose. The stretch on your lower back is phenomenal. This pose will also give your legs a proper stretch.

The Cat/Cow Pose gives your lower back the perfect massage in two movements, also one of my favorite poses for lower back pain. Cats and cows have it so well; they know how to care for their lower back on a daily basis! This pose reminds your back what it feels like in it a neutral position and it feels great!

The Child’s Pose allows all of the pressure and weight of the world to fall off of your back. When you stretch your arms straight out in front, your shoulders are also benefited; a nice relaxed position. This is the best pose to decompress your whole entire body because you are surrendering all that you have to the earth. 

The Downward Facing Dog Pose releases pressure off of your back by stretching your legs. Sometimes, lower back pain is due to tightness in our legs and this pose releases the tightness. Again, bending your knees in this pose is beneficial as well, if you need to. The Downward Facing Dog Pose also gives your shoulders an exceptional massage. Feel free to move your legs and feet around until you are comfortable in the pose. 

Yoga can be the best medicine for many ailments in our lives. Yoga allows us to heal at our own pace and offers a non-judgmental space. Healing on our own time and non-judgmental space is sometimes all that we need to make it through. Yoga will meet you on your mat — just as you are.

How To Get Back Into Yoga After Taking a Break

Whilst we would all love to think of ourselves as masters of organization, achieving excellent work-life balance and a healthy body and mind. But sometimes, we all find that we are overwhelmed with work or our families, and our exercise routine starts to take a backseat.

If you have found yourself taking a break from yoga but you are keen to get back on the mat, read on for our top tips to make the change as smooth as possible.

1. Get your yoga clothes and equipment out.

When you’re regularly exercising, it can be very easy to build up a collection of different yoga leggings and fun props to help you through your workout. If these have been collecting dust during your break, get them out and remind yourself how great it felt to be using them every day. If that’s not enough motivation, think about all of the money that you spent on these items, and you’re sure to think that getting back on the mat might not be such a bad idea after all.

2. Book into a class.

If you’re booked into a class, then there really will be no excuse for avoiding your yoga practice. Even better, take a friend along with you. If you have made a commitment to a time and a place, with someone to hold you accountable for it, you’re bound to enjoy success.

3. Make it a routine.

Habits can develop in as little as 30 days. So, give yoga a chance to become one of your habits by practicing every day for a month. It doesn’t have to be an hour-long class every day; 10 minutes in the morning or before bed should be enough to start making this a routine that you can stick to. You’ll also see a quick improvement in your ability to complete postures, which should motivate you, even more, to keep going.

4. Practice your favorite poses.

Think back to when you were fully engaged in yoga. What were your favorite poses? Which stretches made you so happy you couldn’t wait to do them again? Practice these and let the poses themselves remind you why yoga was such an important part of your life.

5. Forgive yourself.

This might be difficult to achieve, but try to forgive yourself. If you’re constantly thinking about how long it is since you last went to a yoga class, this will hold you back from starting again. Accept that everyone has a break sometimes, remind yourself of what you loved about yoga, and allow yourself to experience it again with a positive mindset.

6. Start now.

If you have been reading this article and thinking “that is me”, then don’t delay. Start now. Pull out your yoga mat and run through a couple of your favorite poses or even a sun salutation. Book yourself a class as soon as possible. Tell someone that you’re going to that class or invite him/her to come along with you. Welcome yourself back to the mat.

Holistic Wellness Tips for Yogis

Many people today are conscious of maintaining good health, but there are still a lot of challenges in living a healthy lifestyle. A regular yoga practice can help you tackle some of those challenges, and help you find a balance between your physical, mental, and spiritual health needs. Yoga and meditation are two of our most valuable wellness tools for maintaining holistic health and we should be utilizing them as much as possible.

Holistic wellness is a lifestyle choice. It requires you to take a look at your entire life – including food, exercise, career, relationships, etc. – and remove what’s toxic. A devoted yoga practice is natural, holistic therapy and can be the key to helping you achieve holistic wellness.

Yoga has obvious physical benefits (like flexibility) but some of the movements and poses are specifically intended to harmonize breathing, energize your body, make you more conscious of your everyday choices and how they make you feel. Here are five key holistic wellness tips for an avid yogi:

Create a Devoted Yoga Practice

Yoga is an obvious part of living a holistic lifestyle, but it shouldn’t be left off the list because it is so essential. Your yoga practice should be suited to your individual preferences, abilities, and schedule whether that means you practice at home, in a yoga studio, or a combination of both. Don’t exclude other physical exercises from your routine either if it is important to you and helps you feel healthy and fit.

Be Mindful

Part of living a holistic lifestyle means being mindful of the choices you make in every aspect of your life. Find a mindfulness practice that helps you clear your head, tune in to the lifestyle choices you make and how they affect your life as a whole and feel mentally fulfilled. This can be achieved by any means that works best for you. You could utilize meditation practice, write in a journal or keep track of the things you are grateful for.

Tune in to Your Breathing 

Mindfulness is important for your breathing, too. During your yoga or meditation practice always tune into your breath, matching it with your movements and allowing it to fuel your body. Once you learn how to properly control your breath during yoga, it will translate into other areas of your life also.

Maintain a Holistic Diet 

A holistic diet means eating healthy foods in their natural state to maintain optimum health and wellness. Practice healthy eating habits by consuming lean protein, whole grains, and lots of fruits and vegetables.

Find a Way to Wind Down 

Discovering something that helps you relax and feel fulfilled at the end of the day is also essential to holistic wellness. This can be in the form of reading a good book, listening to an inspirational podcast, taking a relaxing bath, etc. Anything that helps you to wind down and restore your body will help you live the ultimate holistic lifestyle.

Work Hard, Play Hard

I like to reward myself for hard work. Or sometimes even encourage future projects by indulging in sweet treats. I’m talking drinks this time. Or as I prefer to call them inspiration seekers as they contain the capacity to spark new ideas. Doesn’t a little bit of wine do that in us all?

As I love to mix up flavors, there is always lots of yummy ingredients ready to prepare on my kitchen counter.

Here is a recipe that will spike up your sugar levels but so be sure to tone them down by drinking an equal amount of non-sweetened liquids. Also, try to have a lighter meal with it so they can all balance out at the end of the night.

I find this suiting for an afternoon party affair or for an evening date with someone whom you really want to impress (make sure they enjoy their drinks a little on the sweeter side). Also, remember that life is all about balance and the some of the more indulgent foods you have will not only keep you sane in your quest for health but will establish a nourishing relationship with your body and self. Picking out fresh, quality ingredients also makes the more “sinful” foods less bad.

Here is a recipe for a flavorful sangria:

Like any sangria, this one starts out with your choice of dry red wine to which you add splashes of triple sec, brandy, sparkling water, lime, and lemon. Good half a glass of (freshly squeezed) orange juice. Diced strawberries, apples, peaches. To elevate the sweet taste, add some cloves and a bit of agave syrup. Garnish with lemon and mint leaves. And cheers to a great night.

Sometimes a little wine would even get me dancing (which I don’t like to do often when seen as I’m anything but confident in my moves). But I find dancing a great, fun way of a cardio workout.

There are always options to pair any of the ingredients with its non-alcoholic alternatives, and you have a whole party bar ready.

  • The carbonation in sparkling water with fresh fruit brings the natural juices of the fruit out and beverage tastes rather sweet, like a mini healthy treat. Another idea that also looks great is to add little pieces of fresh fruit or spices directly into the water before cooling it into ice cubes.
  • Great coffee substitutes or additions to it are tea infusions made with mint leaves (you could just as well use chamomile, fennel), sweeten it with some stevia, agave syrup or coconut sugar. While slightly warm beverages also have positive effects on digestion (so serve them after a meal) and cooling effects on the body during high temperatures.
  • Lemonade or lemon water also helps balance your body’s pH levels and are therefore good thirst quenchers after meals, they also support healthy digestion, filled with Vitamin C and help soothe a sore throat (if the previously mentioned sangria makes you sing too loud).
  • Freshly squeezed orange juice is also good thirst quencher after a meal and for its density also works great in place of healthy treats, being filled with Vitamin C.
  • Fruit smoothies made with fruits of your choice (preferably what is in season and produced locally) are another simple healthy and filling thirst quencher.

If you’re anything like me, you like a good party but also care about hydration a great deal. As entertaining is all about having fun in a colorful and lively environment the above mentioned are an easy and practical way of making your party look like one out of a catalog. Let me know below what are your go-to party tips, I’d love to hear from you.